My New Veggie (& Fruit) Garden!
(This web page contains affiliate links.)
After contemplating for some time, I finally made the big decision to get rid of all the grass in my backyard (almost 300 square feet), and put in a vegetable garden. A lot of friends asked me how I was going to put in the vegetable garden, so I decided to write about my journey.
The first thing I had to do was decide if I was going to plant directly in the ground or use raised garden beds. Because the soil where I live in southern California is so hard and dry, and there are a lot of rocks in the ground, I was advised to use raised garden beds. But what type of garden beds should I buy? With so many shapes, sizes, and colors to choose from, it did take me a while to decide which ones to go with. Other things I took into consideration were the price, the height of the garden beds, and the amount of work involved with putting them together (I’m only so handy!).
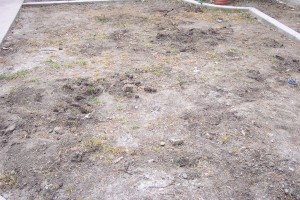
The grass is gone!
The garden beds I finally decided on are very inexpensive and looked very sturdy, plus they looked very easy to put together. I also liked the small size (42“x42”), as I thought they would be easy to work with. I figured I would need about four garden beds for the size of the space I have, but because they are only available online and I was not able to see them in person first, I decided to just order two to start with, in case I was not happy with them. This garden bed is similar to what I purchased.
Turns out, they were the perfect choice! They could not have been any easier to put together, especially since there are no tools required, and it only took about five minutes to put each one together. One recommendation I would make is to put them together where you intend on placing them, as it was awkward to move them once all the pieces are in place. I later ordered two more of these garden beds because I liked them so much.
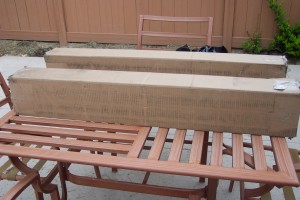
The garden beds came in these easy to carry boxes.
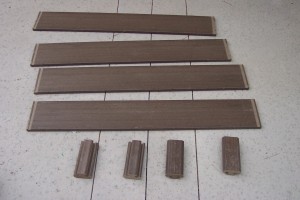
Putting the garden bed together.
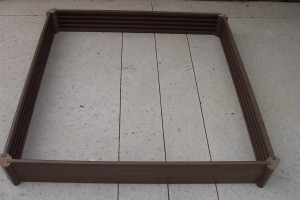
All finished, and no tools required!
After I put the garden beds together, I wanted to line the bottom of them to prevent weeds from coming through (I have plenty of those in southern California as well). I considered using landscape fabric, but then I read on an online gardening forum that cardboard is another inexpensive and easy option, and the cardboard will decompose over time. A big thanks to my neighbor who just happened to have some boxes she was planning on getting rid of – it saved me a trip from driving around looking for old boxes. I also used the cardboard boxes that the garden beds came in.
After cutting up the boxes and using them to line the garden beds, I filled them with vegetable soil. Each garden bed uses four bags (1 cubic ft/bag) of soil.
So what did I plant? Tomatoes (of course, and a few different varieties), cilantro, celery, strawberries, peppers (a variety pack), and butternut squash.
For the irrigation system, I decided to use sprinklers instead of a drip system in order to get more water coverage, and so I wouldn’t have to be walking on or around the drip system, plus I thought it would look more attractive. I also had drainage put in.
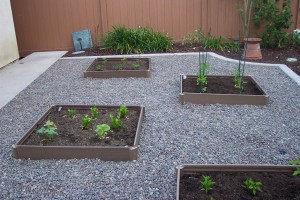
All finished!
For the finishing touch, I had gravel poured around the garden beds. It looks great with my patio, and I read that it helps keep the critters away because the gravel is difficult to walk on. Plus, there is no maintenance needed with the gravel.
So that’s it! Instead of taking care of grass, I’m now maintaining my new garden and hoping to have some fresh veggies and fruit to enjoy soon! It did cost a lot of money up front because of the irrigation system, the drainage, and the gravel, but I think it will pay off long term! I’m also looking forward to adding some decorative touches on the gravel, like maybe some decorative stepping stones, pots, etc.
If you have children and are looking for an educational and simple project to do with them, I think that this is a perfect choice!
If you have any suggestions for creating a veggie/fruit garden, I would love to hear them!

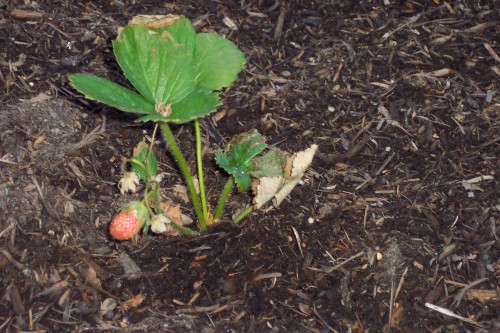
Very nice!